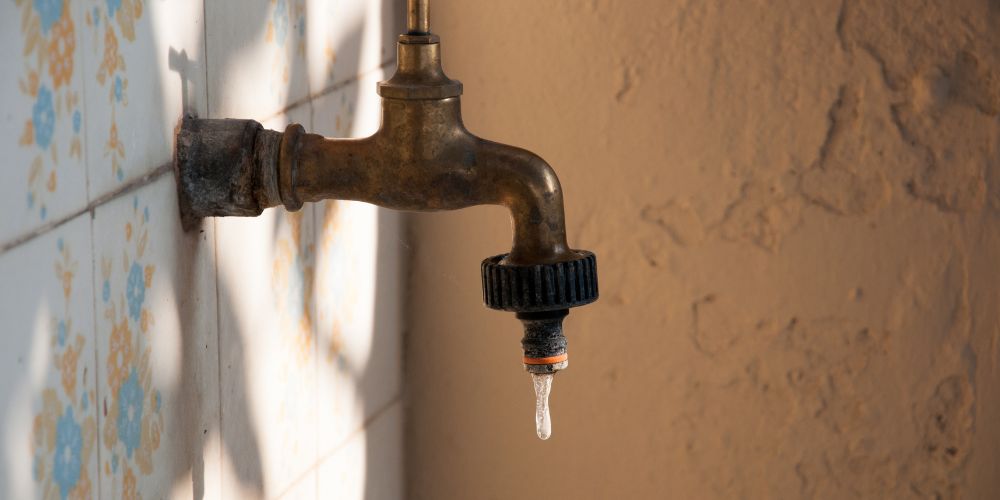
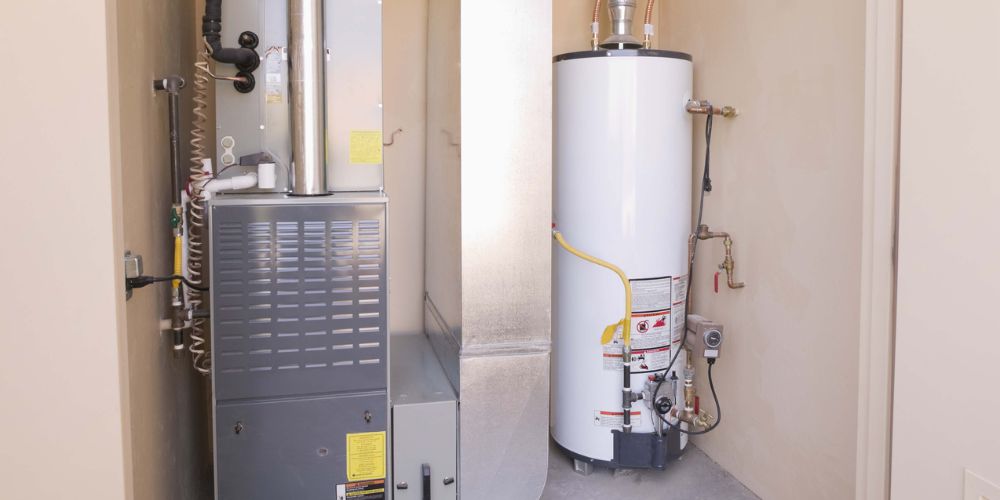
There’s nothing better than a hot shower after a long day, but if you don’t flush your water heater regularly, sediment can build up inside and reduce your hot water flow. Over time, that buildup can even damage your pipes and shorten the life of your system.
To keep everything running smoothly, it’s a good idea to flush your water heater and expansion tank at least once a year. It’s easier than you might think! Just follow these simple steps, and you can have it done in a couple of hours.
Signs It’s Time to Flush Your Water Heater
Flushing your water heater once a year is an important part of keeping it in good shape. If you’re not sure when it’s due, watch for these common signs:
- Dirty or discolored water – If your hot water looks rusty or cloudy, there may be sediment buildup inside the tank.
- Strange noises – Rumbling or popping sounds while the water heats up often mean hardened sediment is moving around inside.
- Bad smells – A rotten egg odor when you turn on the hot water is usually caused by bacteria growing in the sediment.
- Low or uneven water pressure – Sediment can clog your system and affect how your water flows or heats.
- Higher water bills – If your bill suddenly spikes but your water use hasn’t changed, your heater may be working harder due to a buildup.
If you notice any of these signs, it’s a good idea to flush your water heater soon to keep it running efficiently.
What You’ll Need
Garden hose
Bucket
Towel
Channel lock pliers
How to Flush a Water Heater?
Water Heater Flush Quick Checklist
- Turn off the power
- Drain hot water
- Shut off the water supply
- Connect hose
- Open the drain valve
- Check for sediment
- Close valves, refill & restart
- Test water
Step 1: Turn Off the Power Source
Before you begin, turn off the power to your water heater. The steps are different depending on whether you have a gas or electric unit:
For a gas water heater:
- Find the thermostat where the gas line connects to the water heater.
- Take note of the current temperature setting so you can reset it later.
- Turn the red thermostat knob to the lowest setting, usually labeled “Pilot.”
For an electric water heater:
- Go to your home’s electrical panel (breaker box or fuse box).
- Find the switch or fuse for the water heater.
- Flip the breaker to the OFF position, or remove the fuse completely.
- If your panel isn’t labeled, you may need to turn off the power to the entire house just to be safe.
Want to know, Electric vs. Gas Tankless Water Heater: Which One is Right for You?
Helpful Tip:
If you can, turn off your water heater the night before. This gives the water time to cool down, reducing the risk of burns. Plus, cooler water can be reused, like for watering your garden!
Step 2: Drain the Hot Water
After turning off the heat source, it’s important to get rid of any remaining hot water in the tank to prevent burns.
Turn on a nearby hot water faucet and let it run for 15 minutes to an hour, depending on how big your water heater is. This helps drain out the hot water and allows cold water to refill the tank, getting it ready for flushing.
Step 3: Shut Off the Water Supply
Once the hot water is drained and replaced with cold water, find the water supply valve—usually located at the top of the tank where the cold water pipe connects. Turn this valve off to stop more water from flowing in.
Tip:
You don’t need to turn off the natural gas or propane supply. Just set the thermostat to its lowest setting to make sure the water heater doesn’t try to heat up during the process.
Step 4: Connect a Garden Hose to the Drain Valve
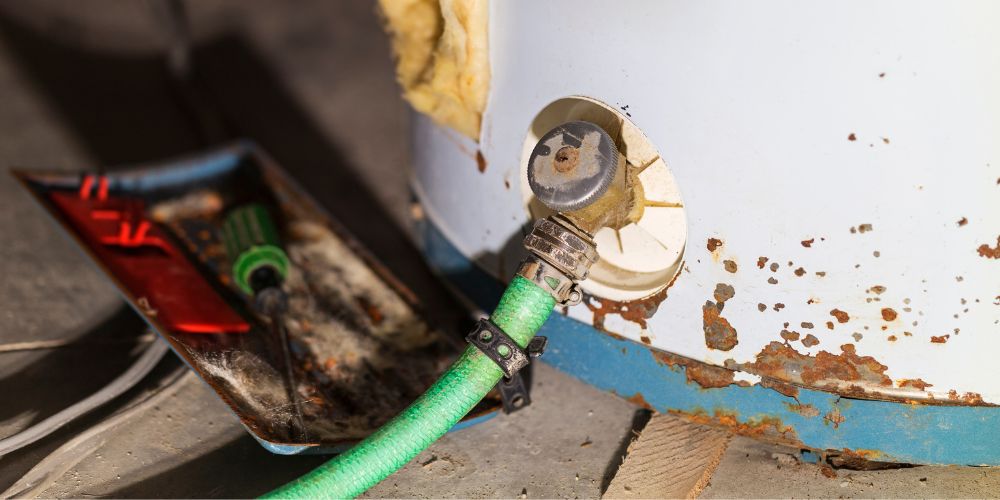
Find the drain valve at the bottom of your water heater—it usually looks like a spout similar to an outdoor faucet and may be hidden behind a cover.
- Use channel lock pliers to firmly attach a garden hose to the valve.
- Wrap a towel around the connection point to catch any splashes or leaks.
- Place the other end of the hose in a safe spot where it can handle a strong flow of hot water, like a driveway, gravel area, or a large bucket (not a bathtub or sink).
- Before draining, open a nearby hot water faucet in your home. This helps prevent a vacuum from forming in the pipes, which could trap water and sediment in the tank.
Tip:
Never let the end of the hose drain into a sink, shower, or tub. Doing so could allow sediment to flow back into your plumbing system and cause problems.
Step 5: Open the Drain Valve to Let the Water Out
After connecting one end of the garden hose to the drain valve and placing the other end in a safe drainage spot, you’re ready to start draining the tank:
- Put a bucket under the overflow pipe on your water heater.
- Carefully open the drain valve at the bottom and the pressure-relief valve at the top.
- Let the water drain out for about 10 to 20 minutes.
Safety Reminder:
If you didn’t let the water cool down or refill the tank with cold water first, the water inside will be extremely hot, and so will the steam. Be very careful. Wear protective gloves and a face shield to avoid burns from hot water or steam coming out of the pressure-relief valve.
Step 6: Check the Water for Sediment
- The main reason for flushing your water heater is to remove built-up sediment from the bottom of the tank. Before wrapping up the job, make sure the tank is clean.
- Fill a bucket with water from the heater and let it sit for about a minute without moving it.
- Look at the water. If it’s cloudy or you see grit or particles settled at the bottom, there’s still sediment in the tank.
- If the water isn’t clear, continue draining the tank.
- Repeat this check every 10 minutes until the water is completely clear and free of sediment.
Step 7:Close the Drain Valve & Remove the Hose
- Once the water is clean.
- Close the drain valve.
- Carefully disconnect the garden hose, keeping the end raised until you can move it to a drain or outside to avoid spills.
- Leave the pressure-relief valve and the nearby hot water faucet open for now—you’ll close those in the final steps.
Step 8: Turn the Water Supply Back On
Before refilling your water heater, make sure the nearby hot water faucet is still open. This helps release trapped air from the system.
Next, open the water supply valve and let the tank start filling. As it fills, air will escape through the open faucet and the pressure relief valve.
Important: Don’t turn the power or gas back on until the tank is full. You’ll know it’s ready when water flows steadily from the open faucet.
Once the tank is full, turn the power back on or reset the thermostat to its original setting, depending on whether your unit is electric or gas.
Step 9: Final Checks
Close the faucet and the pressure relief valve. Wait about 20–30 minutes, then test the hot water at the nearest tap to ensure everything’s working properly. Also, check around the pressure relief valve for leaks to make sure it’s fully sealed.
Why should you flush your water heater?
The water in your home contains natural minerals like calcium and magnesium. Over time, these minerals settle at the bottom of your water heater and turn into sediment.
If you don’t flush it out regularly, this buildup can make your water heater work harder, use more energy, and wear out faster.
Also, read the following: What are the different kinds of water heaters?
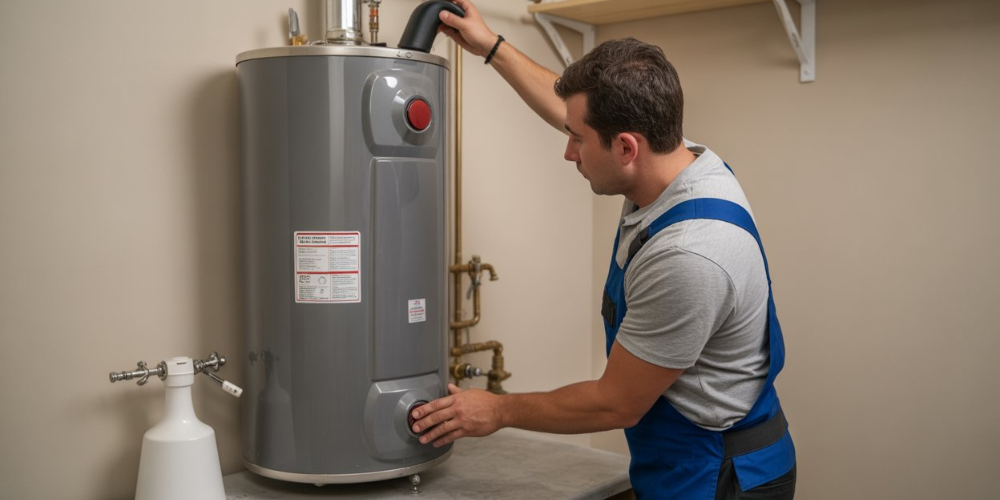
When to Call a Professional
If you’ve never flushed your water heater before, it’s a smart idea to have a professional handle it the first time. Over the years, a lot of sediment and pressure can build up, and a trained plumber will know how to clean it out safely and effectively.
Also, if the drain valve won’t open, don’t try to force it. Applying too much pressure could break the valve and cause dangerously hot water to spray out. In that case, stop what you’re doing and call a water heater pro to replace the valve before continuing.
Wrapping It Up
Taking the time to flush your water heater once a year can go a long way in keeping it running smoothly, saving energy, and giving you consistent hot water when you need it most. It may seem like a big task at first, but with the right tools and a little patience, it’s something most homeowners can handle in just a couple of hours.
If you’ve never done it before or run into issues, like a stuck drain valve, it’s always safer to call a professional. Whether you DIY or call in an expert, keeping up with this simple maintenance step helps extend the life of your water heater and keeps your showers hot and hassle-free.
Need help or not sure where to start? Don’t hesitate to reach out to PlumbSmart as the trusted plumbing pro for advice or service.