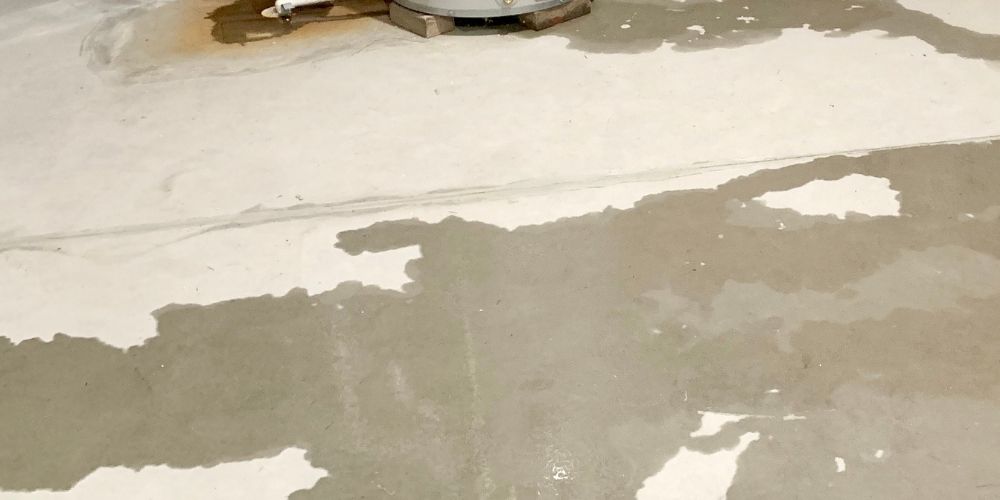
Imagine you hear water rushing somewhere while you are sipping your morning coffee. Water is splattering everywhere from a ruptured pipe when you rush outside.
Sounds like a nightmare? Sure, it does.
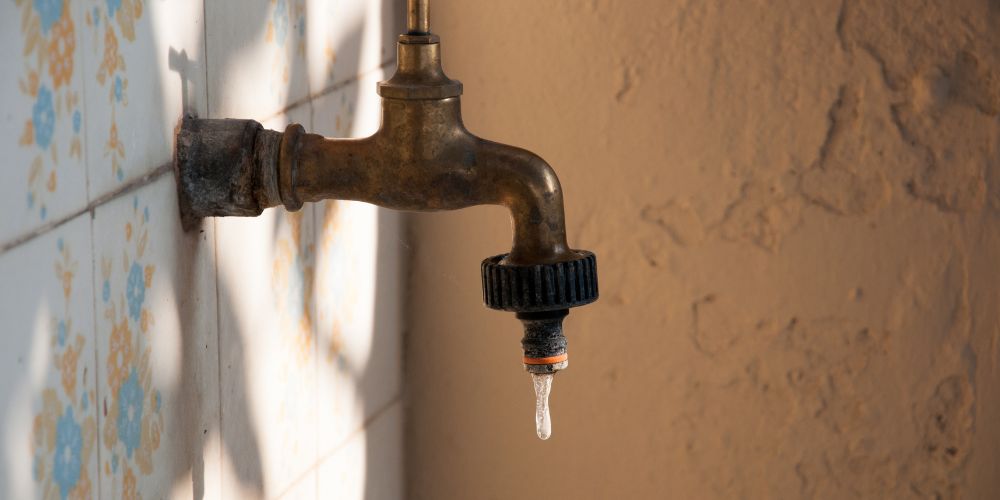
Every winter, thousands of homes experience it. Any remaining water in your exterior faucets freezes, expands, and—crack—your pipes break open as the temperature reaches 32°F. The problem is that this situation is completely preventable.
Why Outdoor Faucets Freeze and the Risks Involved?
Look, your outdoor faucets are in danger when winter arrives. Any remaining water in those pipes begins to freeze. Additionally, water grows by roughly 9% when it freezes.
Not only is a cracked pipe inconvenient. We’re talking about water destroying the outside of your house, flooding your foundation, and possibly allowing mold to grow. The majority of people wind up spending several hundred to several thousand dollars to repair the damage.
Take action prior to the onset of the first freeze. Now, a little preparation is preferable to rushing to find a plumber at two in the morning when everything is frozen solid.
Understanding How Freezing Occurs
Let’s keep things easy to understand. Any water in your outdoor faucets will begin to freeze when the temperature drops sufficiently.
Additionally, ice occupies a lot more space than water. Consider this: cold water turns into ice, expands, builds pressure, and then, boom, a broken pipe.
The faucets that have no protection are the ones that are most frequently struck. Getting the water out of there and covering everything to protect outdoor plumbing are the two main strategies for avoiding this.
Step-by-Step Guide to Prevent Outside Faucets from Freezing
Follow these precise steps to properly winterize outdoor faucets and prevent problems.
Step 1: Unplug and Empty Garden Hoses
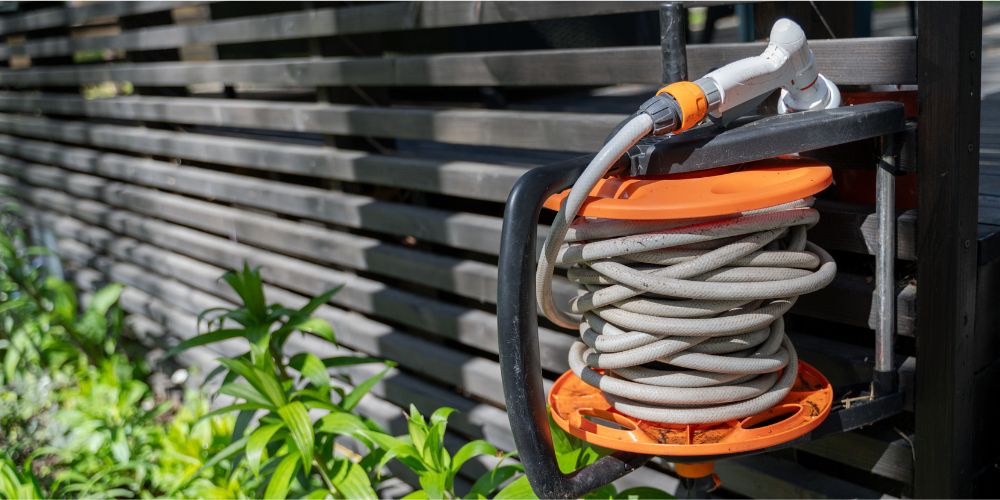
Leaving your hoses connected causes water to remain inside, sitting there until it freezes. Remove them, empty any remaining water, and store them indoors. It takes about five minutes, but this single action avoids most issues with frozen faucets.
Step 2: Turn Off the Outside Water Supply
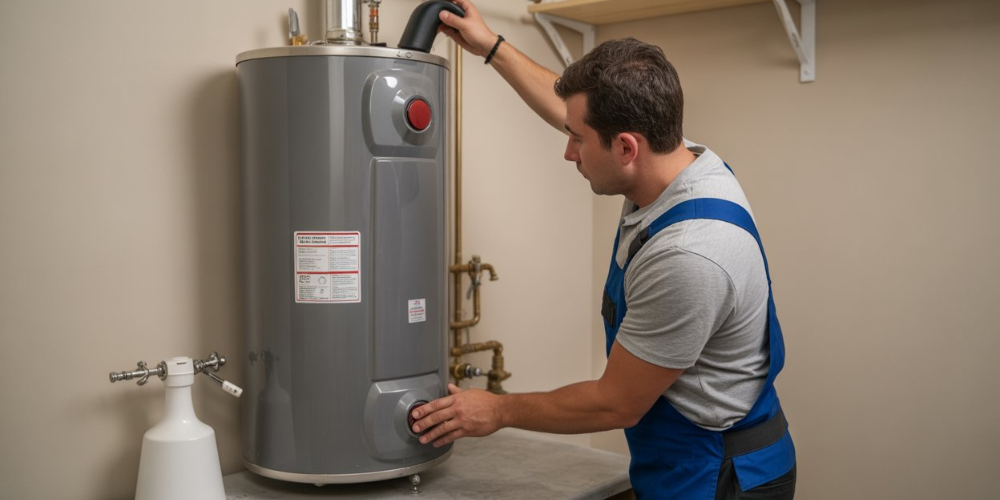
Most homes contain a valve located inside that regulates water flow to outdoor spigots, typically found in the basement, crawl space, or utility area. Locate it and turn it off.
When that’s finished, go outside and activate the outdoor faucet. Sure, it feels odd to activate it, but this allows excess water to flow out. Then keep it open throughout the winter. If water somehow enters and freezes, a running faucet stops pressure from building up.
Step 3: Install Frost-Proof Faucets (If Feasible)
If your taps continue to freeze annually, perhaps it’s time for a replacement. Frost-free faucets house the shut-off valve within your wall, where it’s shielded from the cold. When you switch them off, water automatically flows away from the exterior section. They require a small initial investment, but if you reside in an area with harsh winters, they are worth every cent.
Step 4: Install Faucet Covers or Insulation Kits
For under ten dollars, you can find insulated faucet covers at any hardware store. Simply slide them onto your outdoor faucets. Looking for additional security? Cover exposed pipes with foam insulation sleeves, particularly in areas that lack heat, such as crawl spaces or along exterior walls.
Step 5: Check for Leaks and Drips Before Freezing Weather
Even a tiny drip is a red flag. It means there’s water somewhere in the system, and water equals freezing risk. Before the cold kicks in, check all your outdoor faucets to detect water leaks early. Turn each one on and watch for weird dripping or weak pressure.
Step 6: Drain Sprinkler and Outdoor Plumbing Lines
Don’t forget your sprinkler system! Those lines hold way more water than you’d think. If that freezes, you could have damage throughout your whole outdoor plumbing setup. Use an air compressor to blow out all the water, or hire someone to winterize the system. If you’ve got an in-ground sprinkler system, this step isn’t optional.
Also read, The Role of Leak Detection in Reducing Water Bills
Signs Your Faucet or Pipe May Already Be Frozen
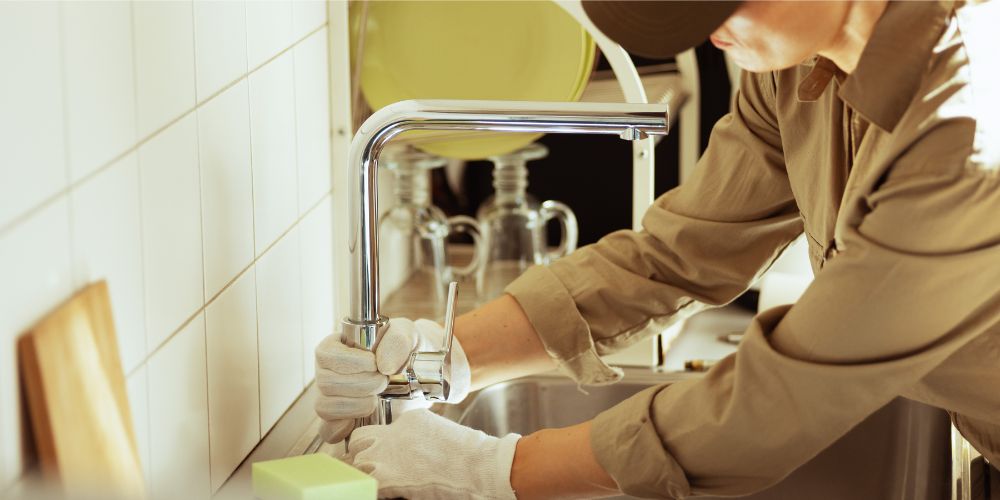
Got caught off guard by an early cold snap? The most obvious sign is that little to no water comes out when you turn on the faucet. You might also see frost coating your pipes, or hear funky gurgling sounds.
If you think something’s frozen:
- Shut off your main water supply right away
- Don’t use a blowtorch or any open flame (seriously, just don’t)
- Try a hairdryer on low heat, or wrap warm towels around the frozen spot
- Go slow and gentle with the heat
When to Call a Professional
There are times when you simply need the professionals to step in. If you see actual cracks in your pipes, water staining your walls, or a complete blockage that won’t transport away, you need help.
A professional plumber will have the equipment available to thaw frozen pipes safely while doing less damage in the process. They can add insulation, install frost-proof faucets, and analyze the entire plumbing system for weak spots.
Wrapping Up…
Here’s the thing: preventing frozen outdoor faucets really isn’t rocket science. Unhook your hoses, shut off the outdoor water, add insulation, and check for leaks. The whole job takes less than an hour, but it saves you from expensive repairs and major stress.
And hey, if you need backup to protect outdoor plumbing the right way, pros like PlumbSmart are just a phone call away, ready to keep your home safe and dry all winter long.


