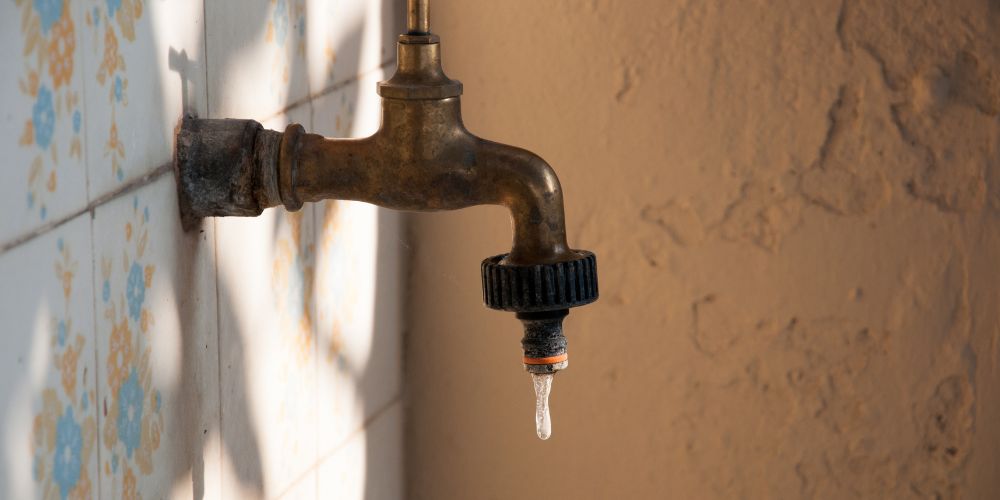
In many areas, a water softener is essential for protecting your home’s plumbing. Hard water, filled with minerals like magnesium and calcium, can clog pipes, damage water heaters, and reduce the effectiveness of soaps and detergents.
A water softener solves this problem by using ion exchange to remove these minerals, resulting in soft water that’s easier on your plumbing. As water flows through the softener, resin beads swap calcium and magnesium for sodium, leaving your water free of harmful minerals.
To keep your water softener running smoothly, regular water softener maintenance is crucial. While an annual professional inspection is recommended to catch issues early, you can handle simple tasks like checking salt levels and cleaning parts yourself. This is especially important in areas like Texas, where water hardness can reach up to 17 grains per gallon (GpG). In places with especially hard water, your softener has to work harder to keep your water mineral-free and may need more frequent attention to stay in top shape.
Whether you’re maintaining a new water softener or keeping your current one in good shape, regular upkeep ensures it continues to work efficiently and extends its lifespan.
To keep your system in peak condition, regular water softener maintenance is essential. With just a few simple steps, you can extend the life of your system and enjoy soft, safe water for years to come.
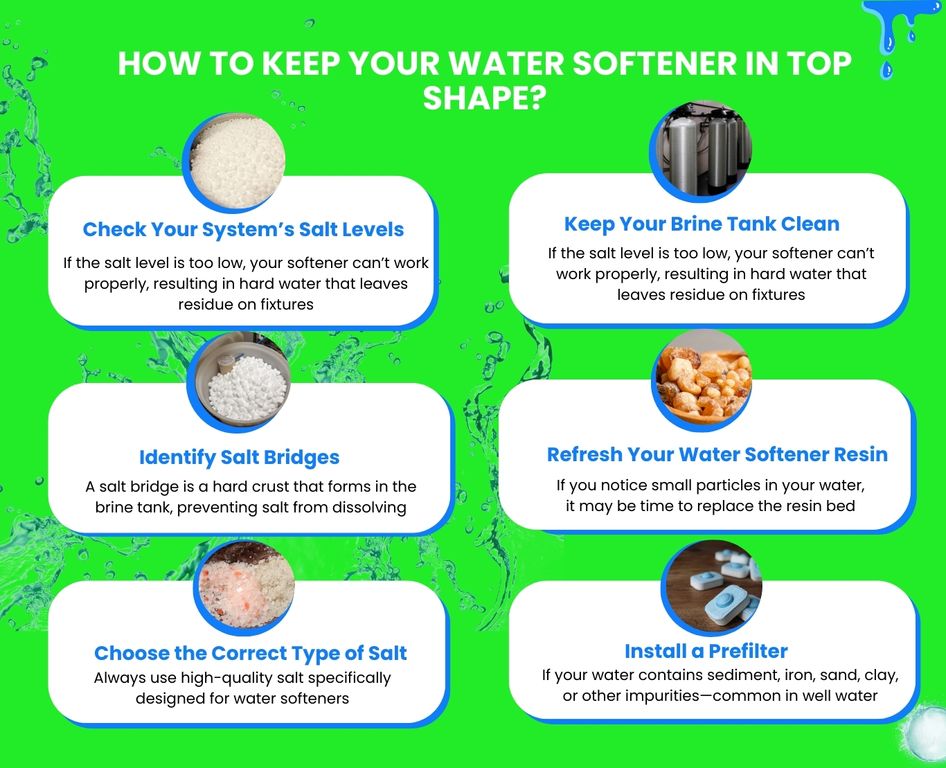
1. Check Your Water Softener System’s Salt Levels:
Most water softeners have a brine tank that holds salt. This salt helps remove hard minerals like calcium and magnesium from your water through a process called ion exchange.
If the salt level gets too low, your softener won’t work properly. You might notice hard water problems like white residue on faucets or dry, sticky-feeling skin and hair.
The good news? Checking the salt level is simple and something you can do yourself for your water softener maintenance — no need to call a pro! Thankfully, checking your salt level is an easy do-it-yourself task that you can perform without the help of a professional.
Regularly monitoring the salt level not only prevents issues before they start but also keeps your water softener running efficiently. Just a quick peek inside the brine tank every month or so can save you from bigger headaches (and repairs) down the line.
Here’s How to Check Your Water Softener’s Salt Level:
- Find the brine tank (usually a separate tank with a lid) and open it.
- The salt pellets should be high enough to cover any water you can see inside.
- If you see water or the salt is below halfway full, it’s time to add more salt.
- Before adding new salt, break up or remove any crusty salt stuck to the sides.
2: Clean Your Brine Tank Regularly
To keep your water softener working efficiently, it’s important to clean the brine tank at least once a year. If you don’t, salt can clump together or turn into sludge, which can mess with the softener’s ability to regenerate properly. If your water has a lot of iron or sediment, you may need to clean the tank more often.
You can clean the brine tank yourself, but a professional can also take care of it during your yearly water softener maintenance.
How to Clean Your Water Softener’s Brine Tank:
1. Prepare a place to dump the saltwater, like a gravel area or pit in your yard.
2. Put your softener in bypass mode to stop water from flowing into the system.
3. Unplug the unit and disconnect the brine tank.
4. Take the tank outside and dump out the contents in your prepared spot.
5. Clean the tank and parts:
- Remove the salt plate and wash it with cold water and dish soap.
- Use a long-handled brush or power washer to scrub the inside of the tank.
- Mix ¼ cup of bleach with 2–3 gallons of cold water, pour it into the tank, and let it sit for 15 minutes.
- Scrub again, dump out the bleach water, and rinse thoroughly with clean water.
6. Dry the tank and valve with a towel.
7. Put the tank back together and reconnect everything to your water softener and drain.
8. Take the system out of bypass mode.
9. Add 5 gallons of water to the brine tank.
10. Pour in at least two 50 lb. bags of softener salt.
11. Let the salt soak in the water for 2 hours.
12. Start a regeneration cycle.
You can clean the brine tank yourself, but a professional can also do it during your annual water softener service.
3: Check for and Remove Salt Bridges
A salt bridge is a hard, crusty layer of salt that can form inside your water softener’s tank. When this happens, the salt can’t dissolve in water to create brine—an important part of the softening process. Without brine, the system can’t clean the resin, and your water won’t get softened. Salt bridges usually form in humid conditions or from using poor-quality salt.
You can usually break up a salt bridge yourself, but if it keeps coming back, it’s a good idea to call a water softener expert. Frequent salt bridges could mean there’s a bigger problem with your system.
How to Spot and Fix a Salt Bridge:
- Use a broom handle or any firm stick to gently poke into the tank.
- If you hit a solid surface that’s not the bottom or sides, it’s likely a salt bridge.
- Gently break up the bridge using the stick.
- You can pour a gallon of warm water into the tank to help loosen it if needed.
- To prevent salt bridges, especially in humid areas, add smaller amounts of salt more often instead of filling the tank all at once.
4: Replace Your Water Softener Resin
The resin in your water softener plays a key role—it helps remove hard minerals from your water through a process called ion exchange. Typically, water softener resin lasts about 10 to 15 years. However, if your water has high levels of iron or chlorine, the resin can wear out more quickly.
A sign that it’s time to replace the resin is when your softener uses salt like normal but still doesn’t produce enough soft water. You might also notice tiny particles, known as “fines,” in your water—this usually means the resin is breaking down.
While you can replace the resin yourself, hiring a professional can make the process quicker and easier. You can also ask them to check the resin during routine water softener maintenance visits.
How to Replace Your Water Softener’s Resin:
- Find out how much resin you need:
- Check your user manual, or
- Use an online chart or calculator.
- Check your user manual, or
- Prepare the system:
- Set the water softener to bypass mode.
- Unplug the power cord.
- Set the water softener to bypass mode.
- Take apart the unit:
- Disconnect the pipes and remove the control head.
- Lay the tank on its side or place it inside a trash can.
- Disconnect the pipes and remove the control head.
- Remove the old resin:
- Use a garden hose to rinse it out.
- If there’s gravel at the bottom, save it to reuse later.
- Use a garden hose to rinse it out.
- Refill the tank:
- Stand the tank upright and cover the opening of the center tube.
- Add back the gravel so it covers the bottom screen.
- Fill the tank about halfway with new resin.
- Uncover the center tube.
- Stand the tank upright and cover the opening of the center tube.
- Reassemble and restart:
- Reattach the control head and reconnect the plumbing.
- Switch the system back to service mode.
- Run a manual regeneration cycle.
- Test your water to make sure it’s soft again.
- Reattach the control head and reconnect the plumbing.
5: Use the Right Salt
Always use high-quality salt made specifically for water softeners. Cheaper or general-purpose salts often contain impurities that don’t dissolve well, which can build up and clog your system. While high-purity salt might cost a bit more, it helps your water softener last longer and work better.
It’s important to note that not all salts labeled for water softeners are created equal—look for products that are specifically noted as “high-purity” or “premium.” These salts contain fewer insoluble minerals, reducing the risk of residue buildup and maintenance issues. Rock salt, solar salt, and evaporated salt are the main types you’ll come across, each with its pros and cons. For example, evaporated salt tends to be the purest and is often recommended for optimal performance.
There are several kinds of water softener salt available, so take some time to compare your options before choosing. Not sure which one to go with? A professional can help you pick the best type for your system.
Choosing the right salt is a simple step that goes a long way in protecting your investment and keeping your water softener running smoothly.
6: Install a Prefilter
If your water contains things like sediment, iron, sand, or clay, which are common in well water and some tap water, it can clog or damage your water softener. A prefilter helps by catching these particles before they reach your system. Most prefilters last about six to nine months before they need to be replaced.
In many cases, a prefilter is installed along with the water softener. But if you didn’t get one at the start and don’t have plumbing experience, it’s best to call a professional for water softener installation for you. If you think your system needs a prefilter, reach out to our team — we’re here to help!
Also read, The Pros and Cons of a Water Softener.
How to Select a Water Softener?
If you’ve decided to soften your water the next step is to determine the extent of softening needed. Start by having your water tested by an independent lab to determine its hardness level, as outlined in Table.
Keep in mind that, unless your water is extremely hard, you may not need to soften all the water entering your home. It’s often sufficient to soften water for showers, sinks, and laundry, while bypassing toilets, outdoor faucets, and basement sinks. In some cases, you may only want to soften the hot water. To determine how much water needs softening, measure usage at the selected locations for each household member, or refer to the guide in the table.
Read our complete guide on how to choose a Water Softener.
| Use of Water | Usage |
| Drinking and Cooking at Home | 1 gal (per person/day |
| Bathing | 25-60 gal/use |
| Washing Dishes | 6-19 gal/use |
| Laundry | 20-33 gal/use |
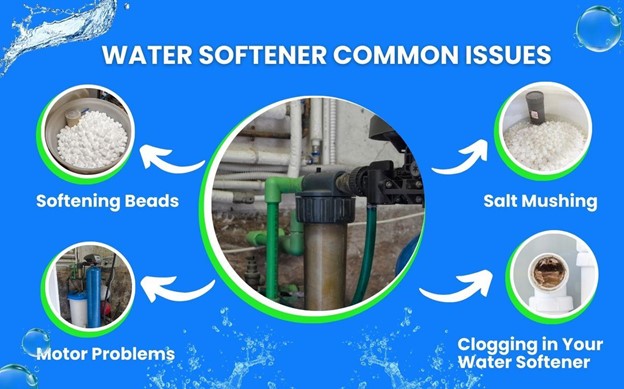
What are water softener issues and how to treat them?
If you have hard water, a water softener can help by removing minerals and preventing scale buildup in your pipes. This improves plumbing efficiency, enhances appliance performance, and benefits your health and quality of life.
Over time, even the best water softeners can show signs of wear. Look out for changes in tap water taste, spots on dishes, or needing extra soap for washing. These signs indicate that your water softener may need attention.
-
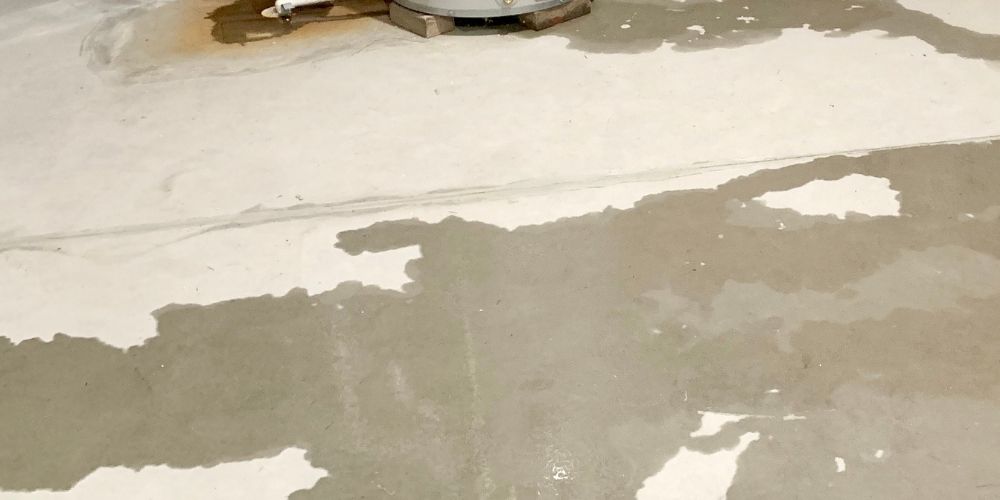
Clogging in Your Water Softener
Hard water’s calcium and magnesium can build up on your pipes and fixtures, and the same residue can clog your water softener over time. If you notice a significant change in water softness or see chalky deposits on your dishes and fixtures, your water softener may be clogged and need attention.
How to fix it:
To fix a clogged water softener, first turn off the system and water supply. Clean the brine tank by removing salt and sediment, then rinse it thoroughly. Check the resin bed for buildup and clean it if needed. Clear any blockages in the water line using a pipe cleaner. Inspect and replace any damaged parts like the valve or injector. Refill the brine tank with the correct salt, restart the system, and run a regeneration cycle. Finally, monitor your water quality to ensure the issue is resolved.
-
Salt Mushing
A salt bridge occurs when a hard crust forms in the brine tank, separating the salt from the water and preventing the salt from dissolving properly.
Salt bridges can form due to high humidity, seasonal weather changes, or low-quality salt with impurities. Additionally, salt mushing can create problems by causing the salt to recrystallize at the bottom of the tank, forming a sludge that disrupts the softener’s performance.
How to fix it:
Both salt bridges and salt mushing can be fixed with simple DIY steps. Here’s how to clear them from your water softener:
- To break up a salt bridge, use a broom handle to break up the hardened salt gently.
- For salt mushing, drain and clean the tank, then refill it with fresh salt.
-
Softening Beads
Resin beads/Softening Beads in a water softener usually last as long as the system itself, but sometimes they may fail early.
Signs that your resin beads might be failing include frequent recharges of the water softener or noticing floating particles in the softened water. These issues could mean the resin beads are not working properly.
If you suspect your resin beads are faulty, they might need a cleaning or replacement. Reach out to a trusted plumber for a professional assessment.
How to fix it:
To fix issues with your resin beads, start by cleaning the beads with a water-softener resin cleaner. If this doesn’t resolve the problem, the beads may need to be replaced. To do this, turn off the system, remove the old resin, and add new beads according to the manufacturer’s instructions. If you’re unsure or need help, contact a reliable plumber to ensure the replacement is done correctly.
-
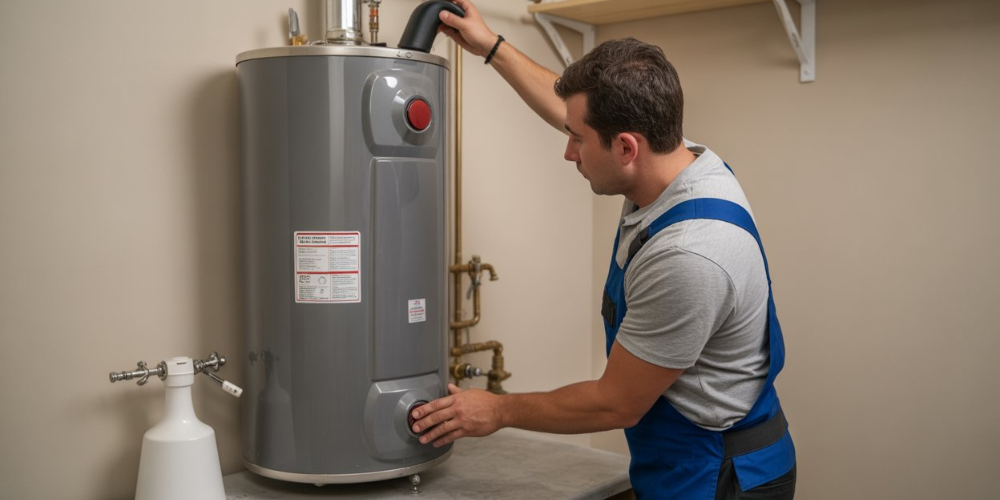
Motor Problems
Just like any appliance with a motor, your water softener’s motor can fail, leading to major problems with the system’s performance. The motor controls the valve that switches between softening and regeneration modes. If the motor fails, it won’t be able to move the valve, causing the system to malfunction.
If the motor completely fails, your water softener may stop working altogether. However, other issues could also cause the system to fail, so it’s essential to check if the motor is truly the problem.
How to fix it:
If your water softener stops working, start by checking all the cables and settings to rule out any issues unrelated to the motor. If you think the motor might be the problem, it’s best to call a plumbing professional. They can diagnose the issue and replace the motor if needed. Also, be sure to check the motor’s warranty—you might be eligible for a free replacement if it’s still covered.
The Final Words
Keeping your water softener in top shape is essential for ensuring your home enjoys the benefits of soft, mineral-free water. Regular water softener maintenance, such as monitoring salt levels, cleaning the brine tank, and addressing common issues like salt bridges or clogs, helps prevent costly repairs and extends your water softener system’s lifespan.
While many routine maintenance tasks—like monitoring salt levels, cleaning the brine tank, and breaking up salt bridges—can be handled on your own, there are times when calling in a professional is the smartest move. For complex issues or persistent problems, consulting with PlumbSmart’s experts ensures that your system receives professional care and remains in optimal condition.
A pro can quickly diagnose recurring salt bridges, check your resin beads during annual service, and even handle more advanced upgrades like installing a prefilter—especially if plumbing isn’t your forte. Regular professional maintenance helps catch small issues before they become big headaches, so your water softener delivers reliably soft water year-round. Don’t hesitate to reach out for help if you’re ever unsure or want peace of mind that your system is running at its best.
By investing time in regular upkeep and seeking expert help when needed, you can enjoy the full benefits of a well-maintained water softener, contributing to a more efficient and comfortable home.
Sources:
Water Softener Maintenance Tips
Everything You Need to Know about Water Softener Maintenance
Keeping Your Water Softener in Top Shape: Essential Maintenance